Wood Project
Toolbox Self-Portrait
|
|
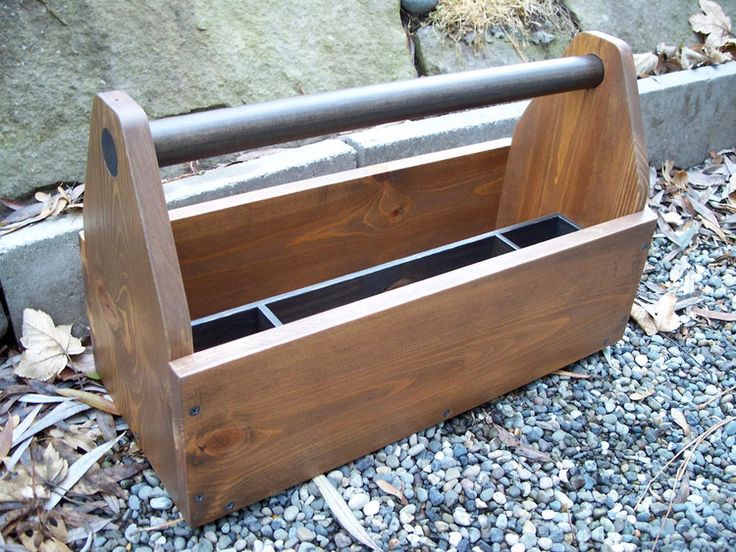
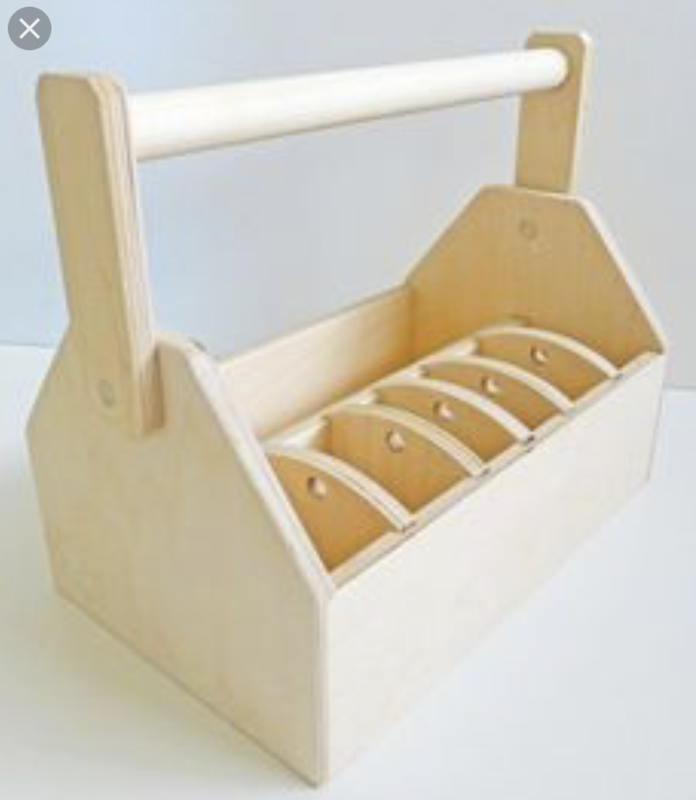
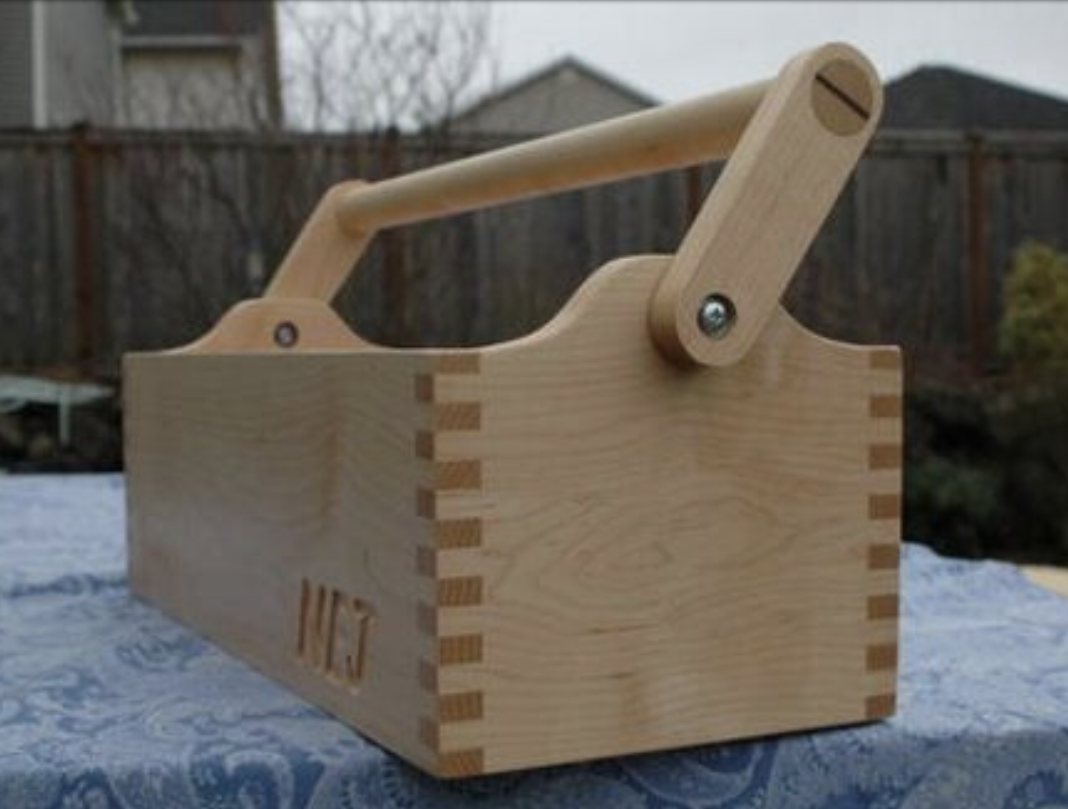
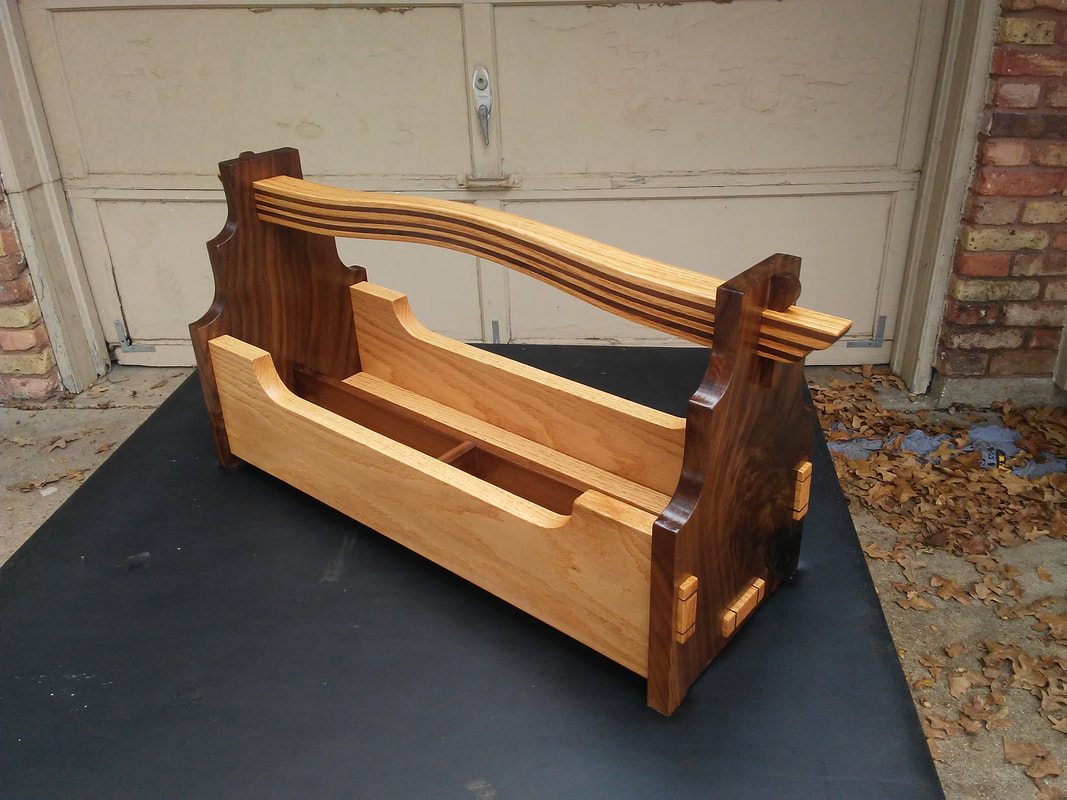
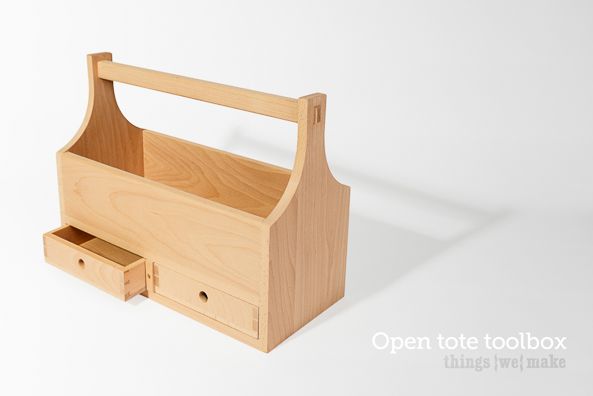
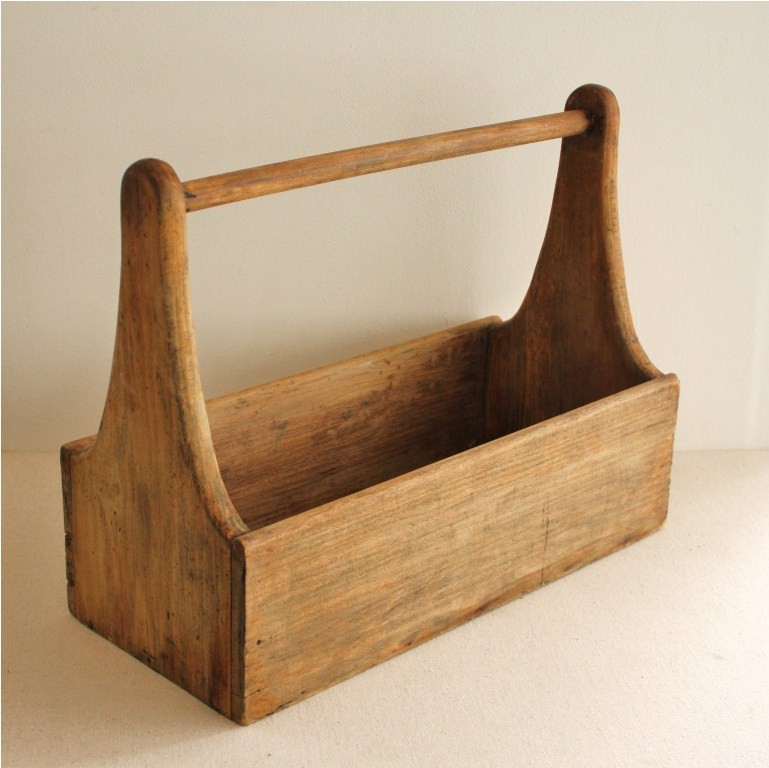
To begin this project, we were supplied with pine wood. I began looking at toolbox designs, and thinking about which direction I wanted to take with this project. I found some images of toolboxes online to get some ideas on what I'd like to try and do. The images to the left are some of the toolboxes I found with elements I wanted to possibly use. I enjoyed the compartments that could sort items. I really liked the look of finger joints, and the darker stain with the lighter natural wood. After looking at the many toolbox images online, I began sketching out plans. |
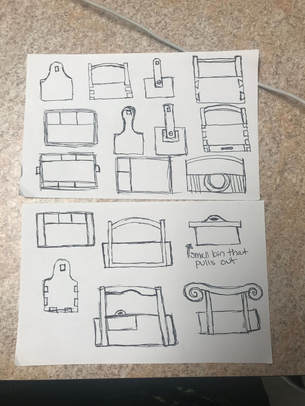
These were a few quick sketches of ideas on how the wood would be joined, and ways the handle could be attached. I was certain on using finger joints, and making compartments to help sort items. I thought about making a handle that can be moved to the side, a removable compartment, or possibly a drawer. Since I've never done finger joints, I decided to keep it simple unless I had more time to incorporate other elements.
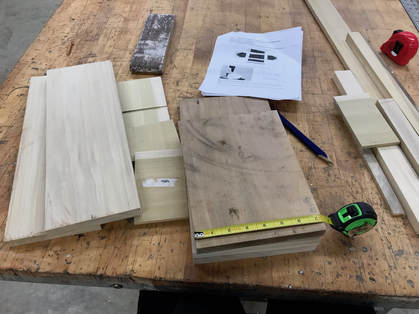
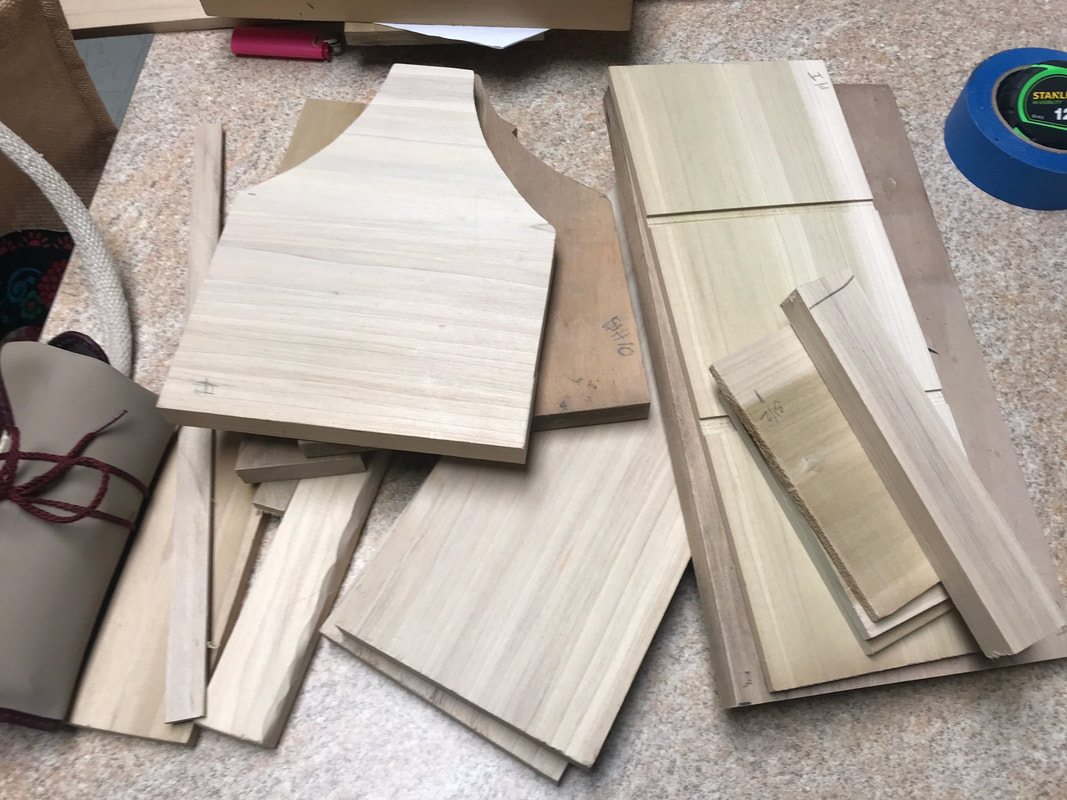
We were supplied with pine wood to complete this project, but when I got home I started thinking about materials I had to work with. I found that I had enough poplar wood to use, so I began planning which pieces needed to be cut to meet the project's requirements.
|
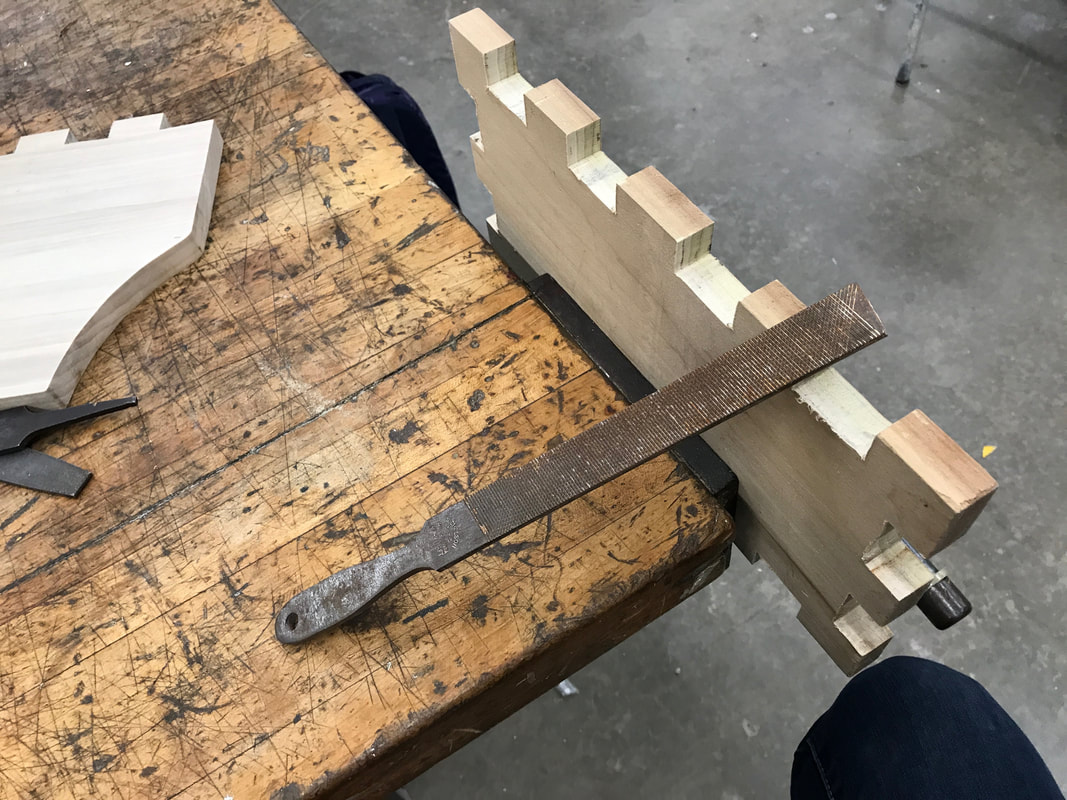
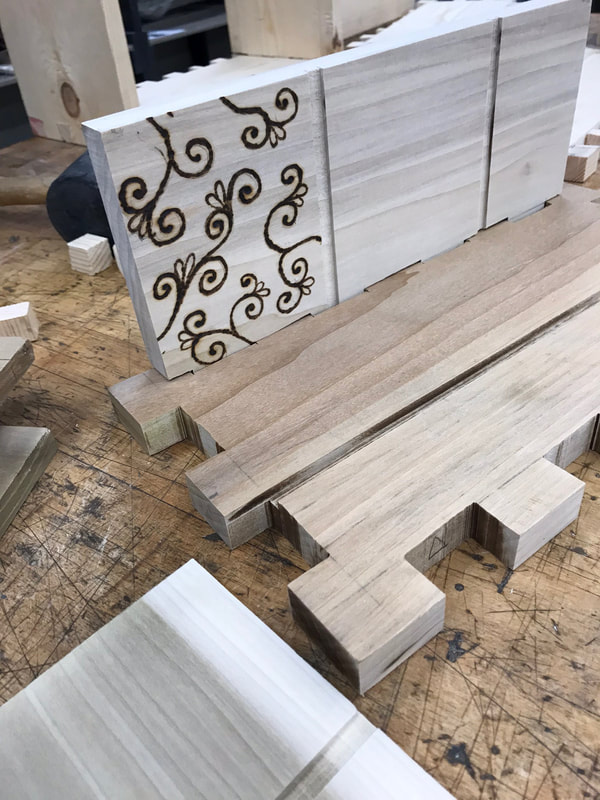
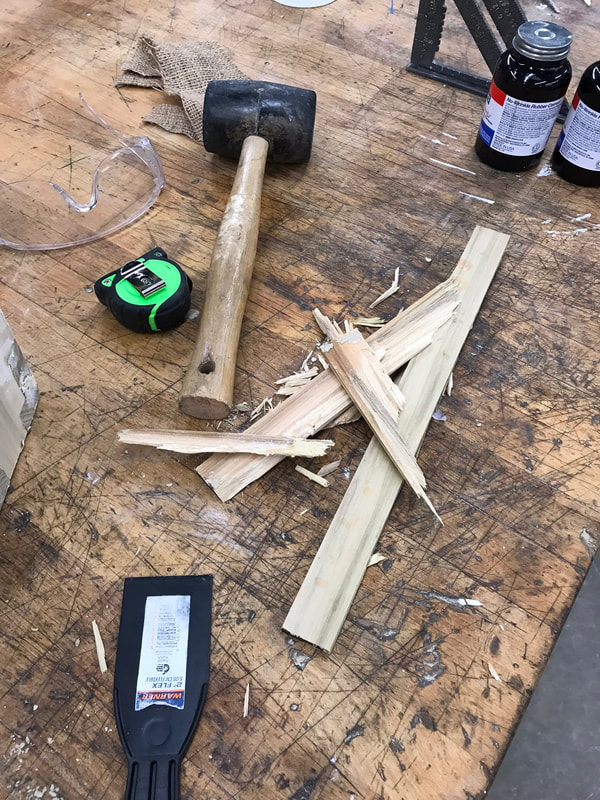
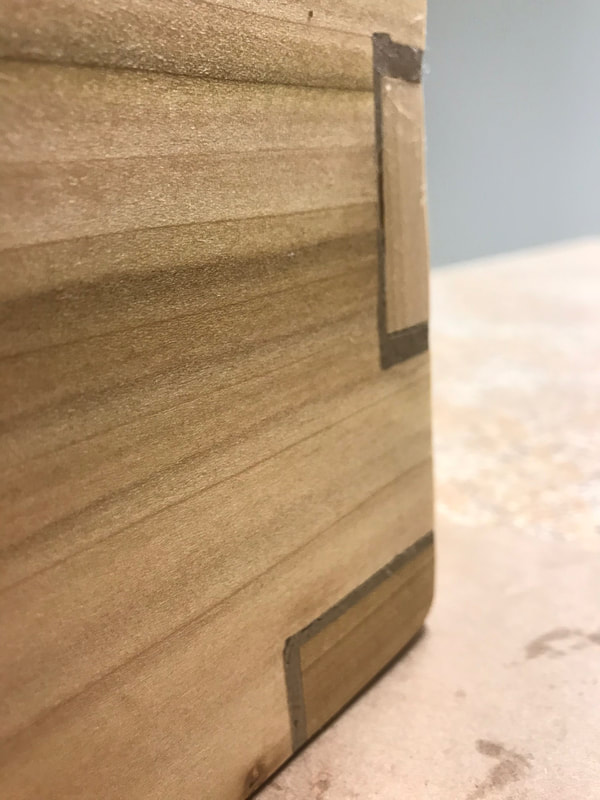
I began to cut the wood to size, and planned on where the finger joints would go. I also made a quick divider that could be inserted to make compartments to sort items. While I was looking at information on making finger joints, I ran across some glaze ideas on poplar. One of the forums suggested sun tanning the wood which would give the green/white colored poplar a caramel color. I decided to give it a try, and placed all the wood outside for approximately 8 hours. Although the wood did not change drastically, it did have less of a green look. If I had known about sun tanning to begin with, I really would've liked to leave it outside another day. After leaving them outside and marking the sections to cut, I experienced some trouble cutting the finger joints. They did not come together as nicely as I had wanted, but I took it as a learning experience and now I know how to better approach them in the future. |
|

|
|
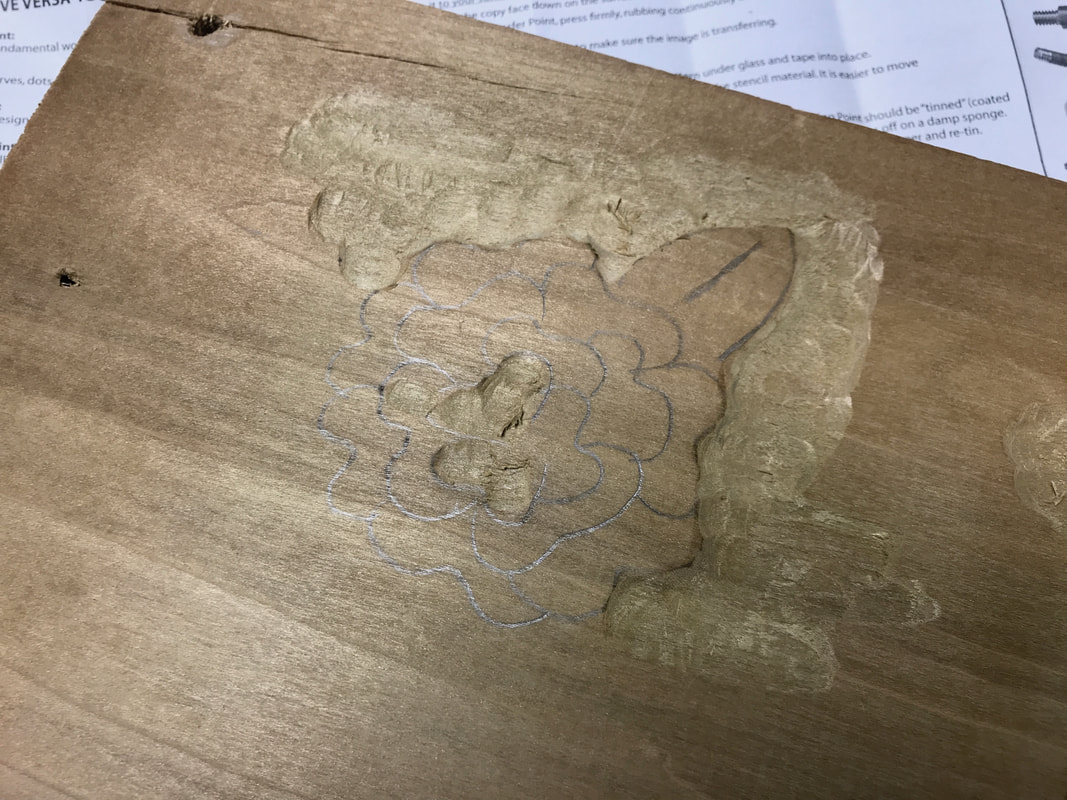
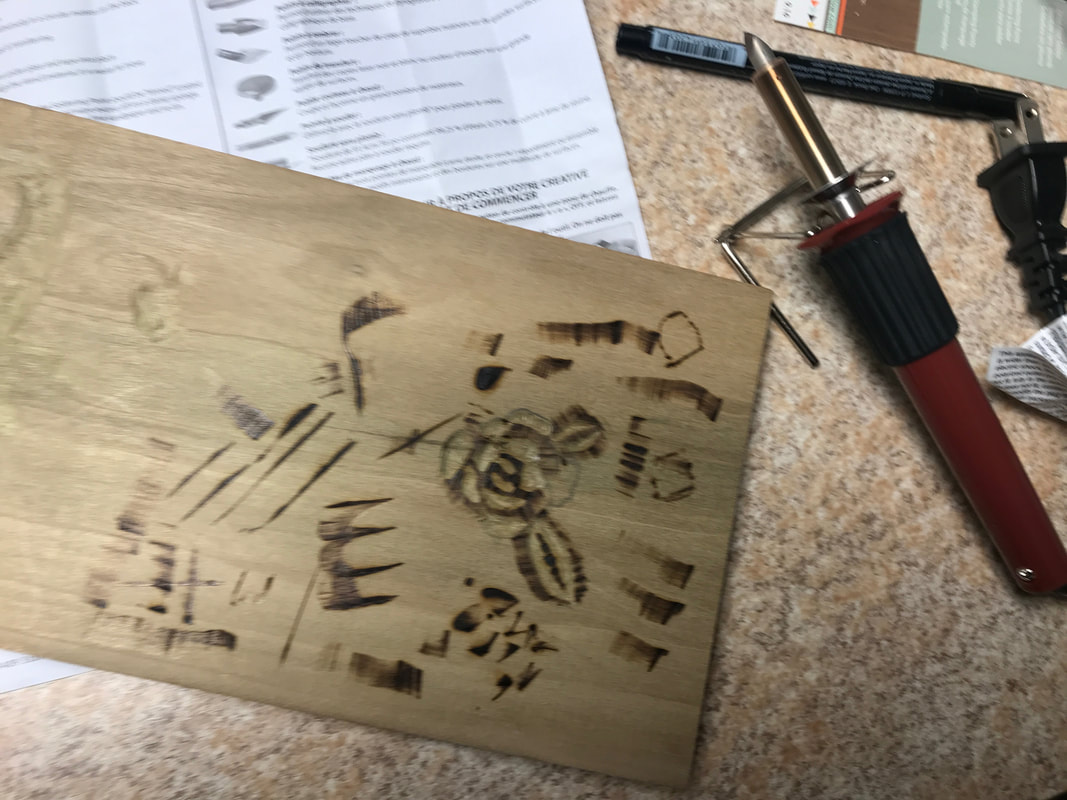
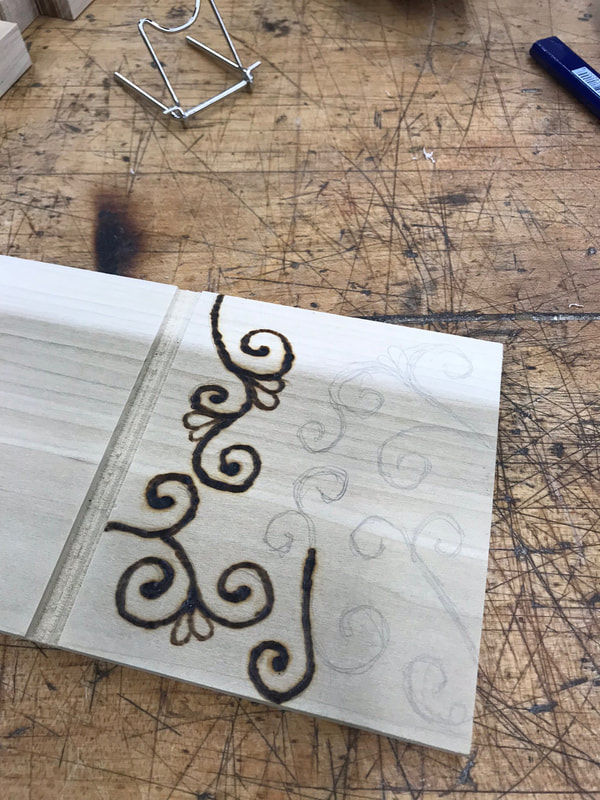
Throughout this project, I thought about what elements of design I wanted to incorporate on the outside and inside of my toolbox. At first I thought of carving textures and designs on the outside. After trying this technique out on spare wood, I decided to go a different direction.
I purchased a wood burning tool and began experimenting with different tips and watching some instructional videos online. Using a wood burning tool takes some effort to get the results you want, but it can do some really lovely work. While learning to use the tool, I thought about the designs I had wanted to use and what would truly reflect myself to others. |
Toolbox #2
Since Thursday, I have been staring at what I had done while trying to think of solutions for the gaps in the finger joints. After a few hours Saturday, I decided to just start over completely. I headed to Lowe's and picked up some more poplar wood, and headed to the shop to start again. I did not photograph the beginning or the finger joint process.
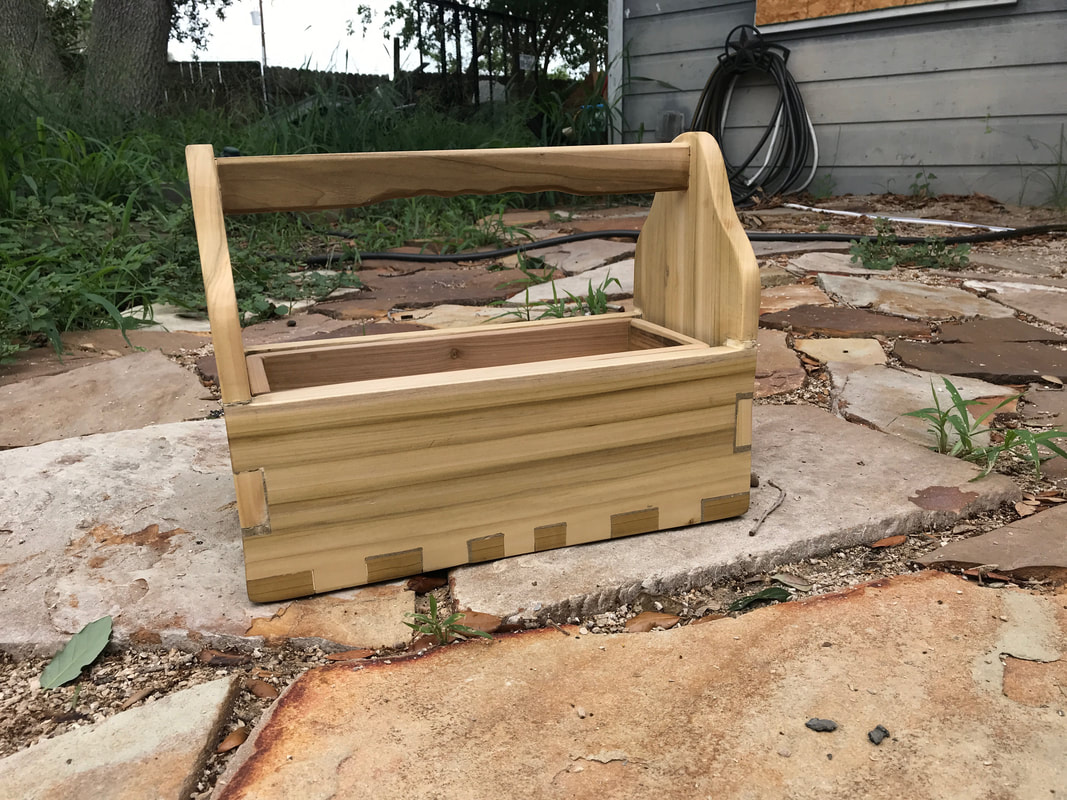
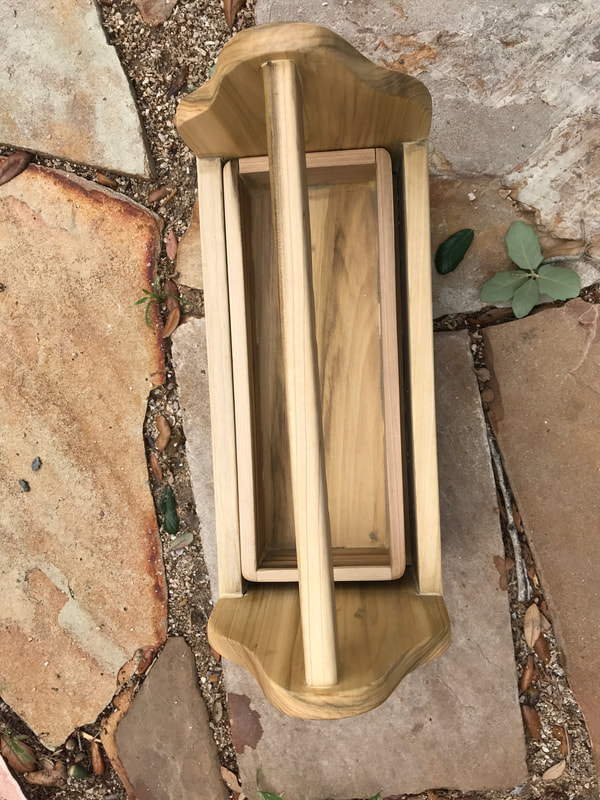
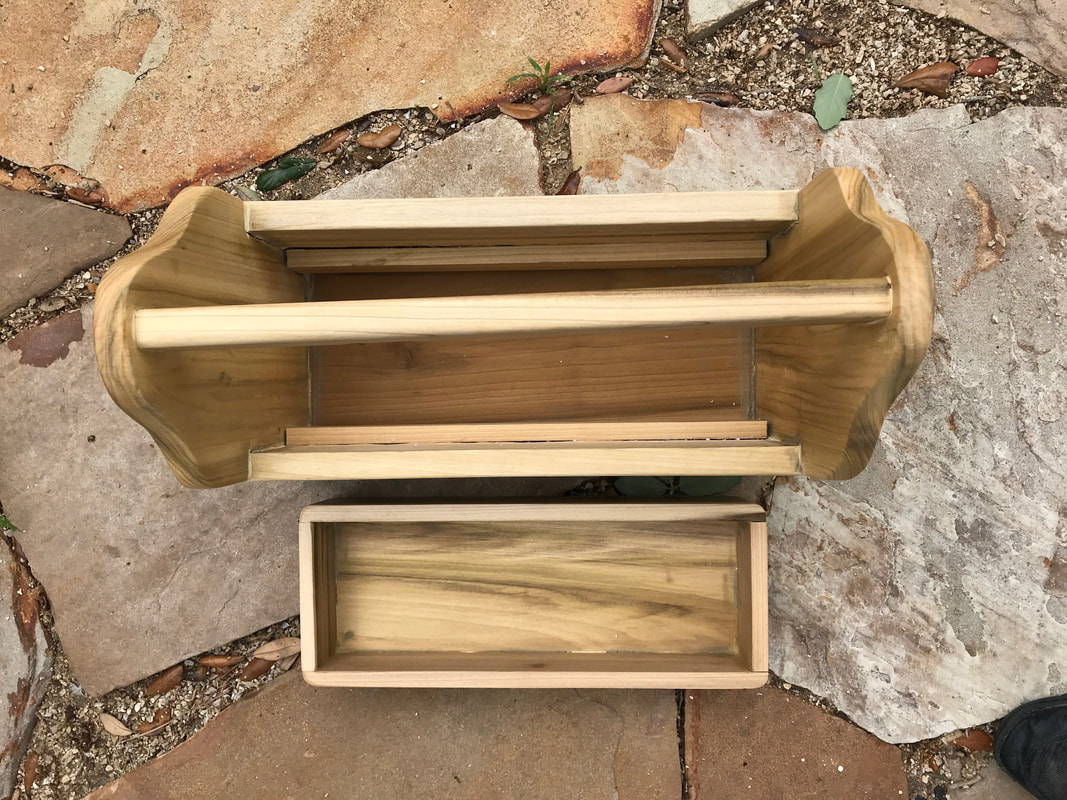
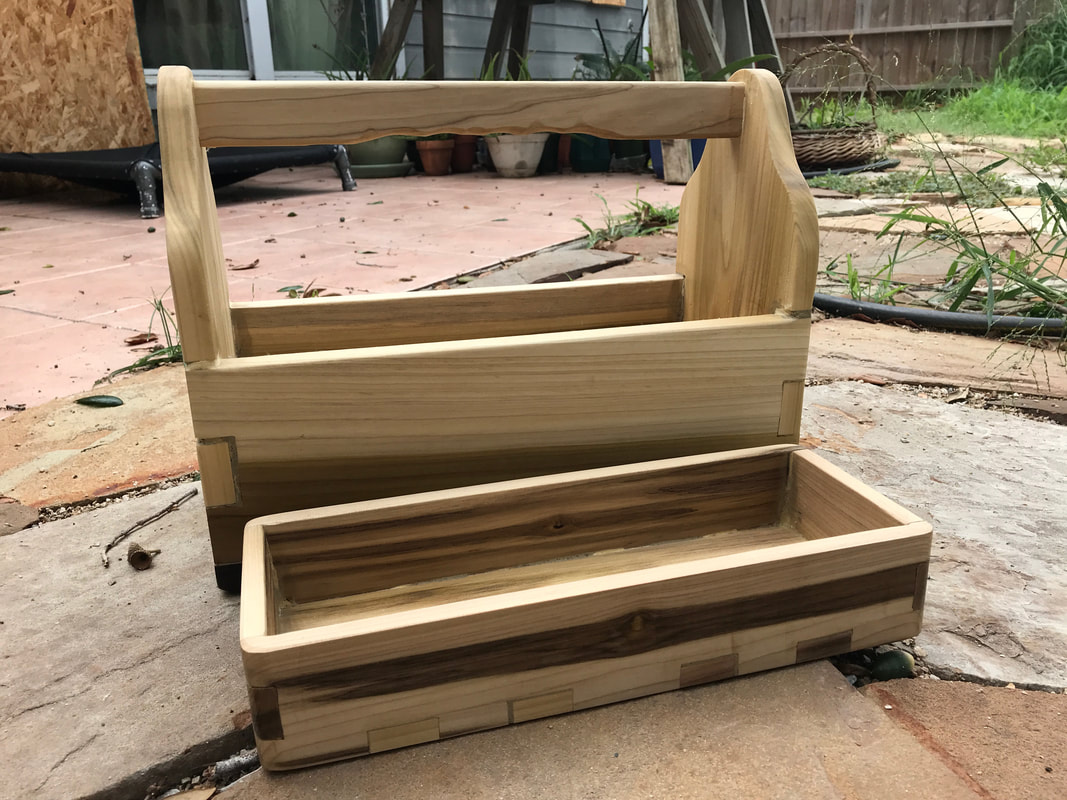
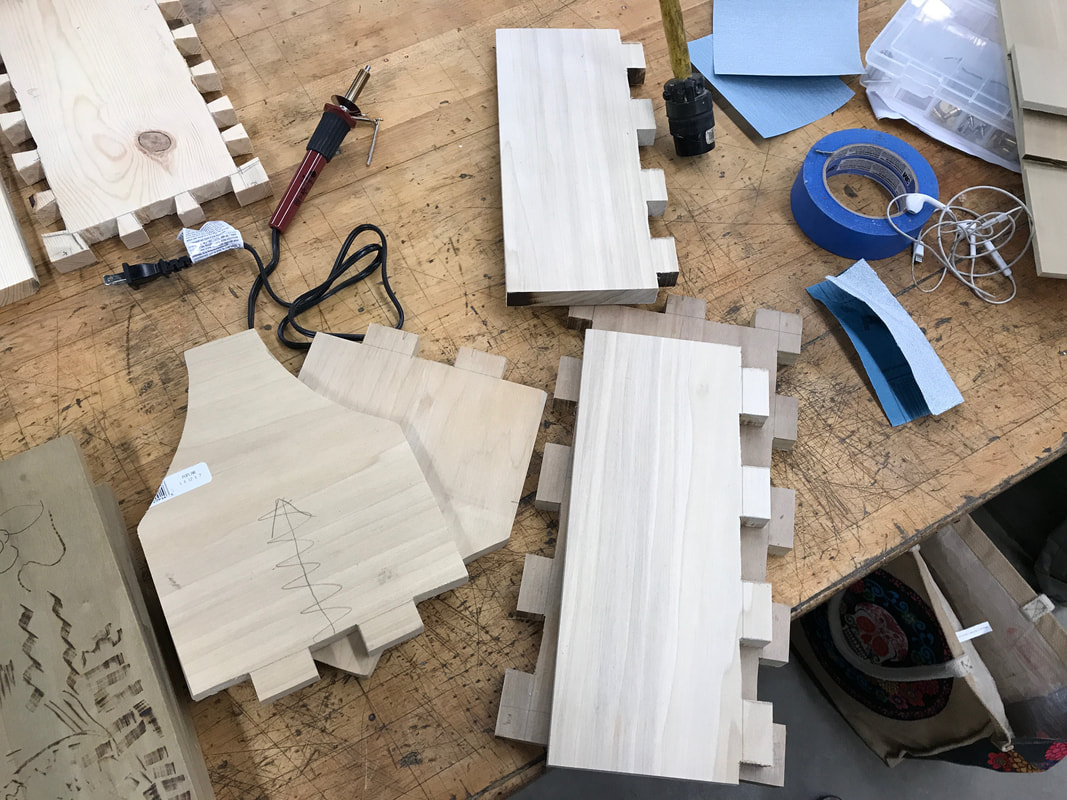
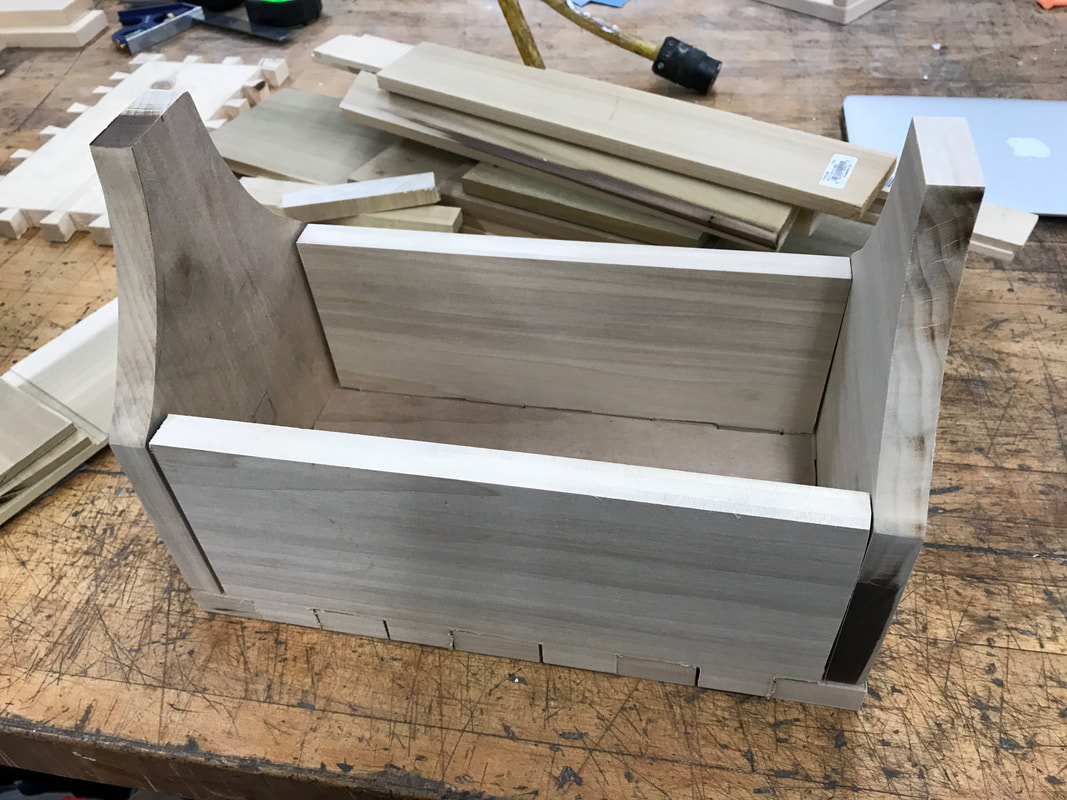
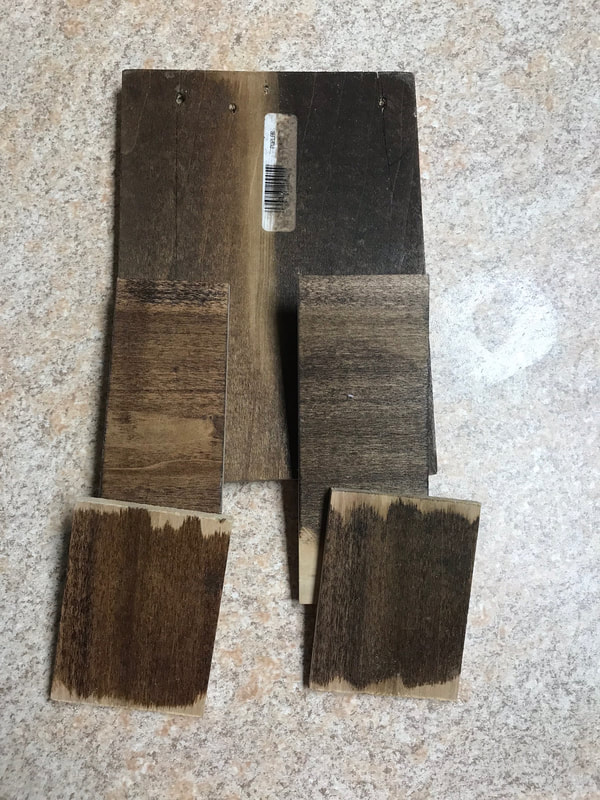
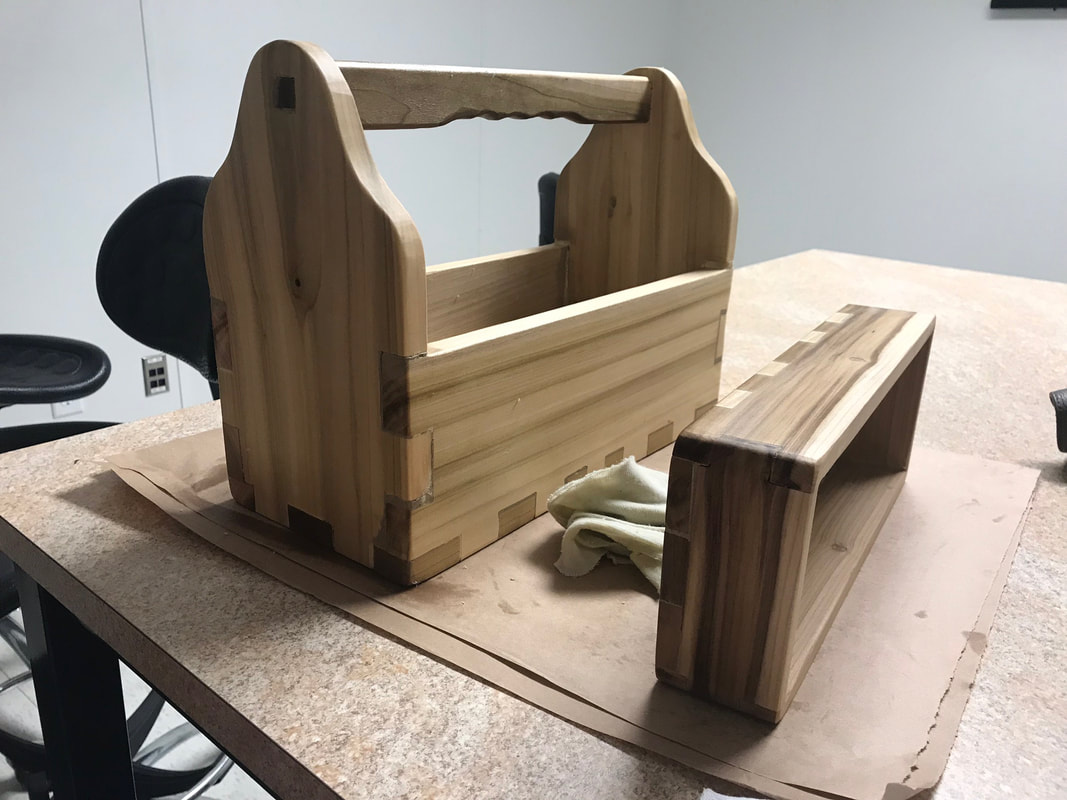
In the photos below, you can see how the toolbox was joined. I tried to use files to get a tighter finger joint fit. I also carved the area the handle would be attached to. I also did some tests on a couple of wood stains I liked. I decided not to use any stain, since I purchased the poplar because of the grain it had. When it was stained, the wood grain and color variation was lost.
In the photos below, you can see how the toolbox was joined. I tried to use files to get a tighter finger joint fit. I also carved the area the handle would be attached to. I also did some tests on a couple of wood stains I liked. I decided not to use any stain, since I purchased the poplar because of the grain it had. When it was stained, the wood grain and color variation was lost.
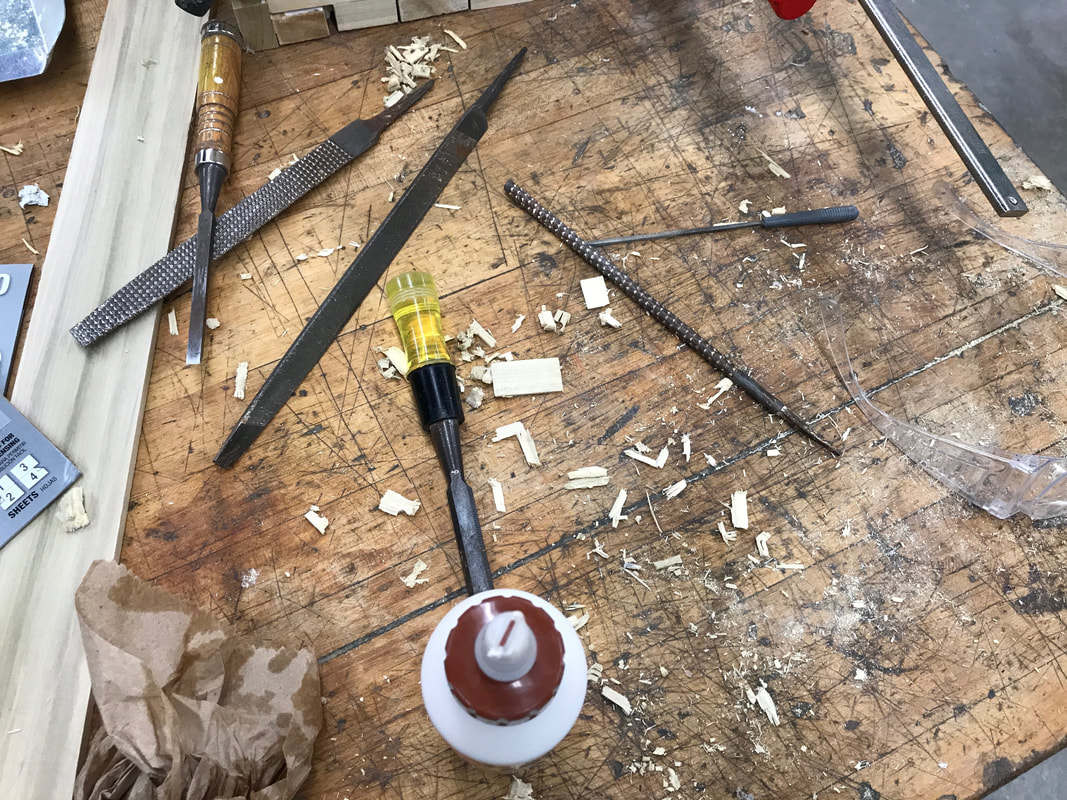
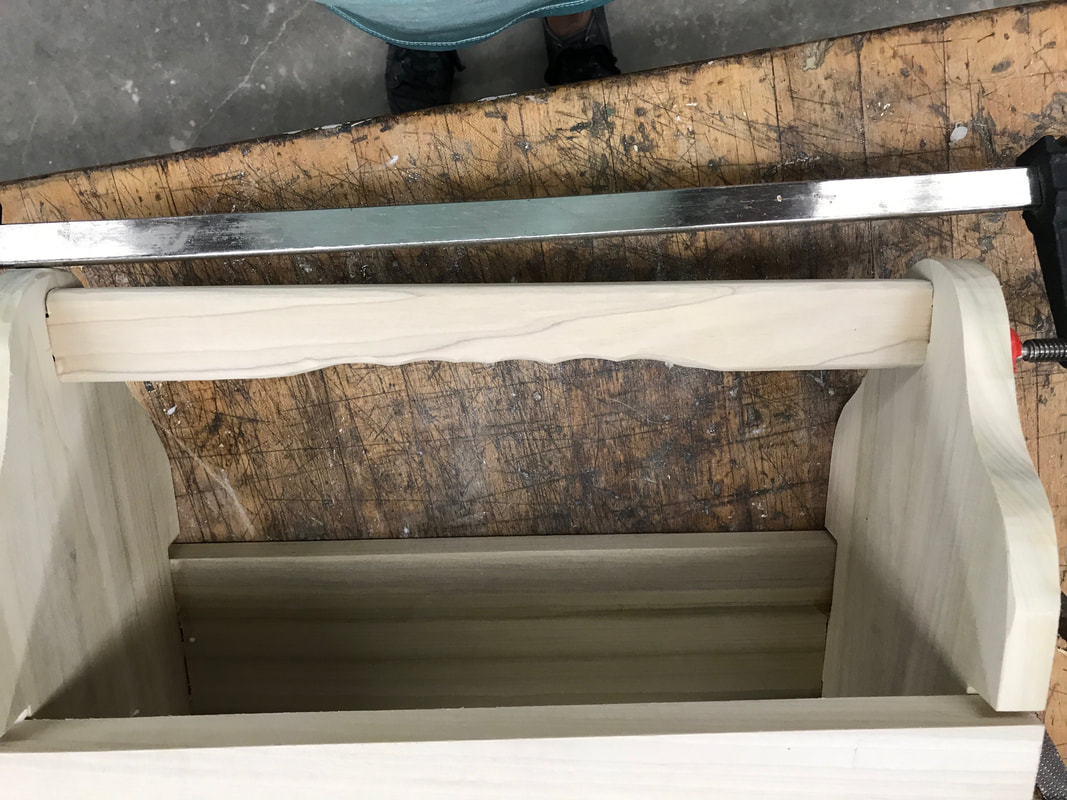
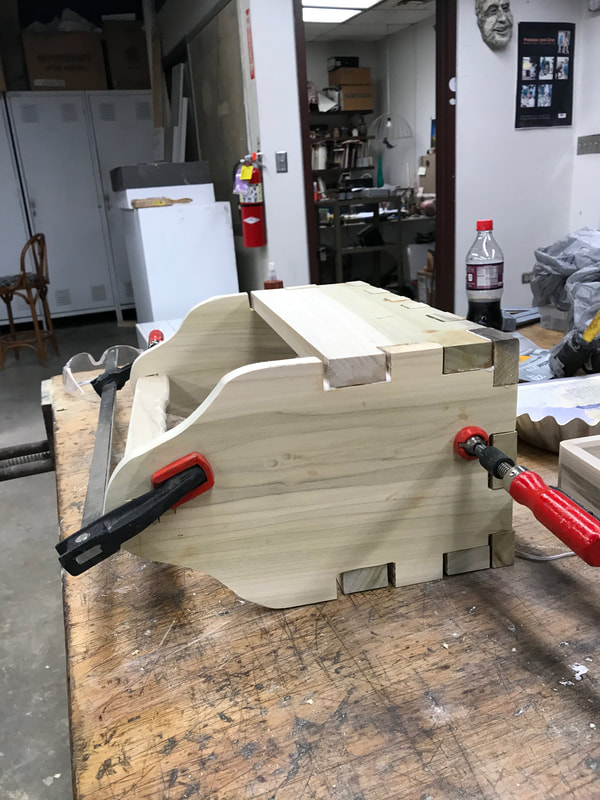
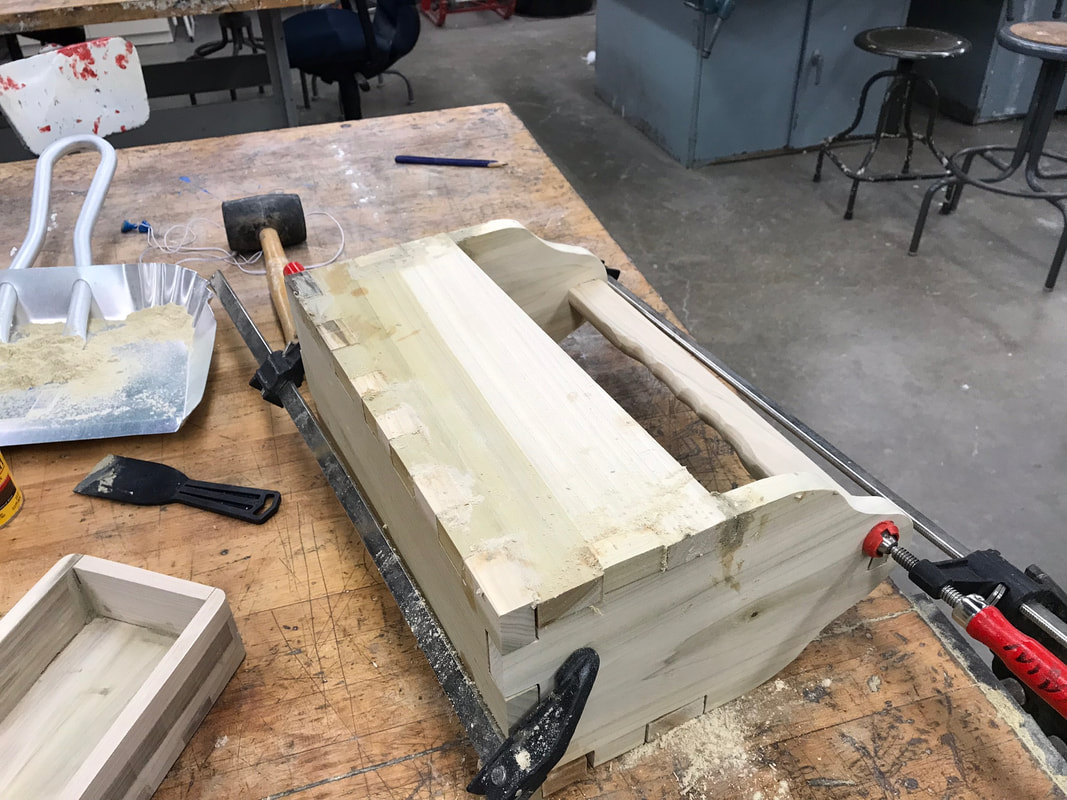
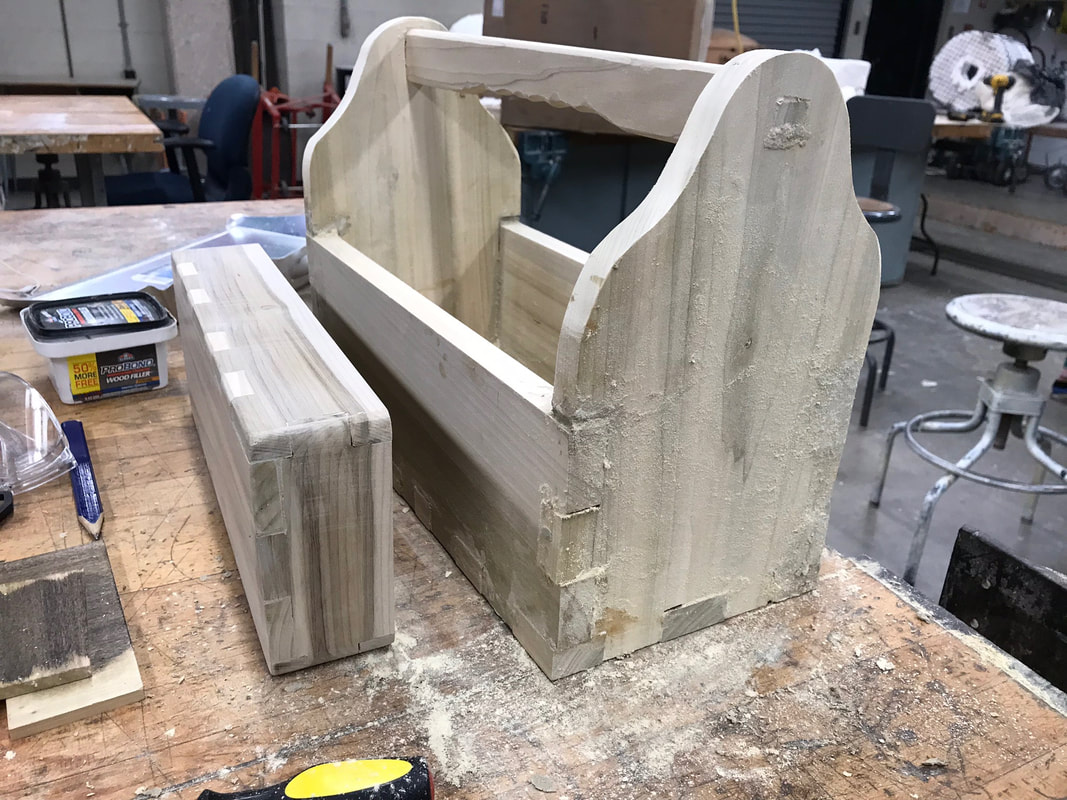
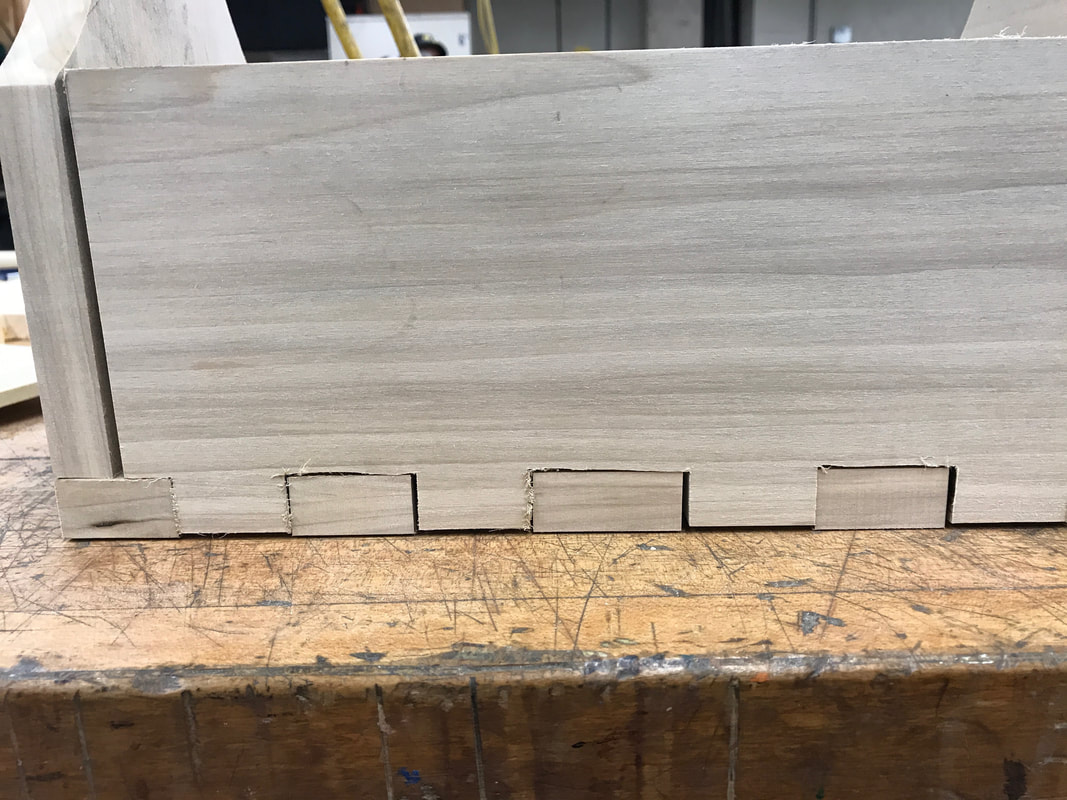
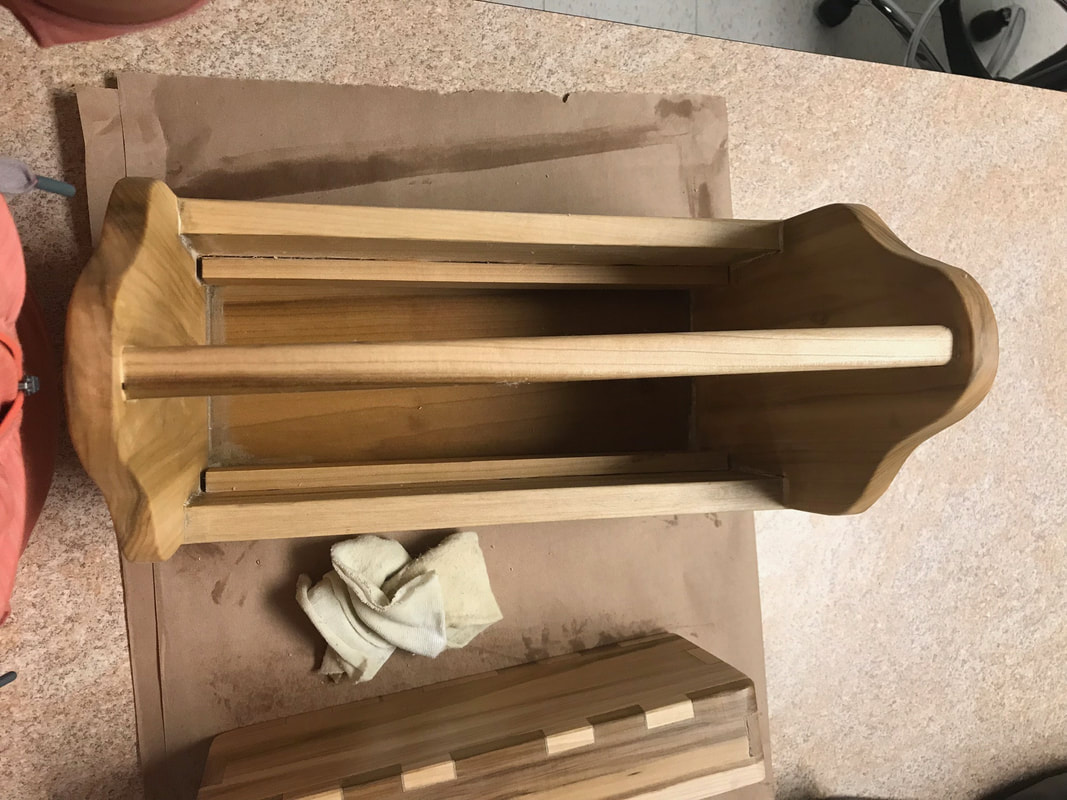
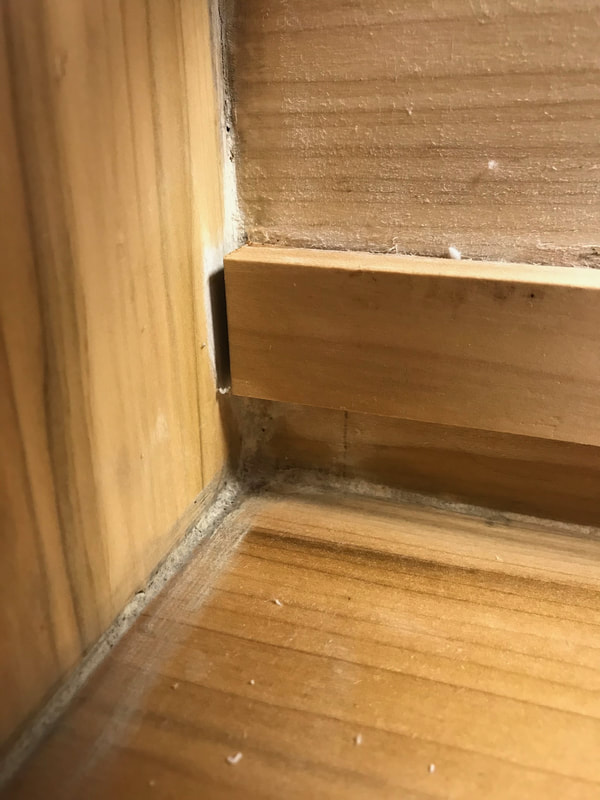
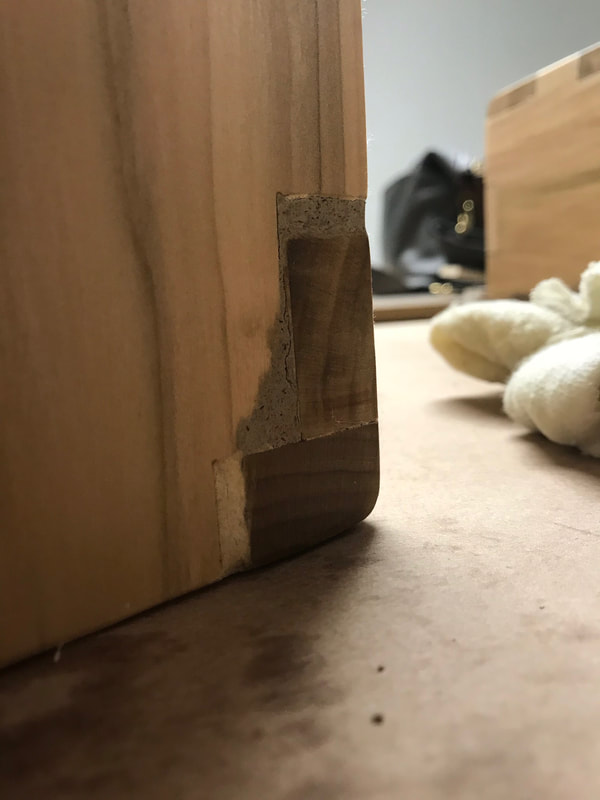
The following day I focused on the finish. I ran into some trouble inserting two pieces of slim wood to support a pull out compartment. I had to remove the original wood pieces with some that were slightly thicker. This left some damage on the interior, which is mostly hidden with the new wood supports. Although this toolbox still has imperfections, it did come together more nicely than the first. I have included some detailed images of the damage done, the repairs made, some close ups of successful finger joints, and finger joints that needed some help.
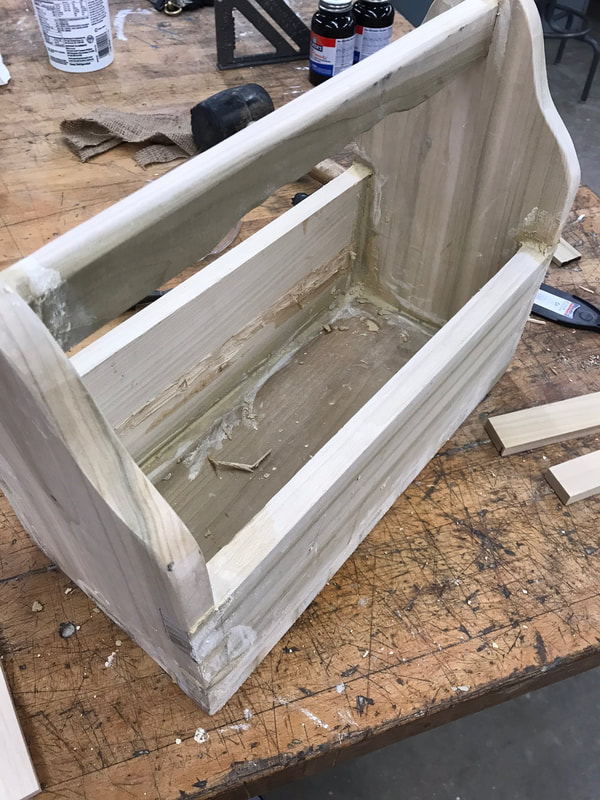

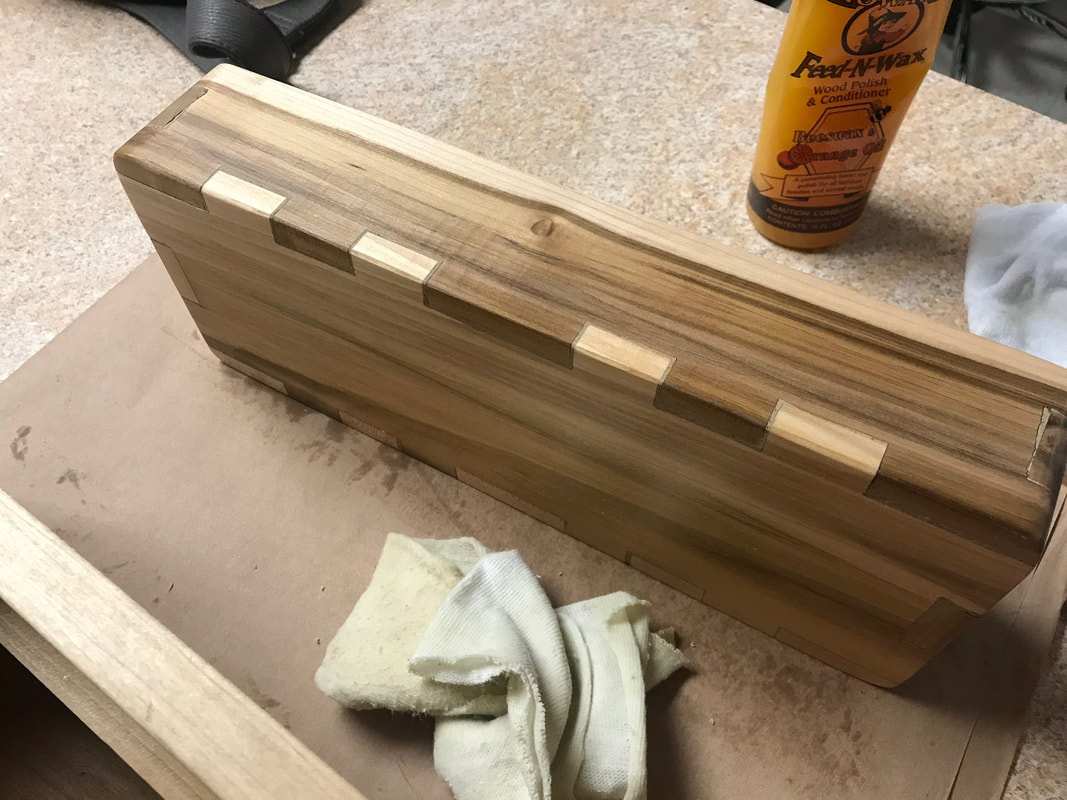
The toolbox was ready to be cleaned up and sanded down. After completing the sanding, I went ahead and polished some beeswax to finish. The images below show the toolbox completed.